CONTACT US TODAY!

PATCHING:
The most cost-effective solution. Cracks, divots, and holes are the best candidates for asphalt patching. If the damage is less than one-half inch wide, “hot rubber” crack fill is usually the best option.
Fortunately, most badly cracked asphalt driveways can still be saved. Surface patching is a great choice for asphalt that is moderately damaged but has not totally failed.
RESURFACING:
In some cases, patching is not always the best choice. If there are severe cracks and holes, or several moderate ones, it is not necessarily cost-effective or practical to patch them all. Patching restores structural strength but doesn’t look as neat and clean as newly resurfaced asphalt. When curb appeal is a priority, aesthetically, resurfacing may be the best option.
REPLACEMENT:
Some asphalt has extensive damage that extends to the sub-base. Saw cut patching can fix smaller failed areas, but sometimes isn’t practical for bigger or multiple problems. In these cases, a full replacement may be necessary. The older the asphalt is, the more likely it is to need replacement. Asphalt can be exposed to massive forces every day with the stresses eventually take their toll. Repairing or resurfacing asphalt that is more than 20 or so years old is not always the best option, replacement may be necessary otherwise the same issues will arise.
ASPHALT REPAIR
& REPLACEMENT
SERVICES
ASPHALT REPAIR & REPLACEMENT
ASPHALT REPAIR & REPLACEMENT
ASPHALT REPAIR & REPLACEMENT PROCESS
• STEP 1
Removal and cleanup of the old surface is the first step so we can start with a clean slate and prepare to add the new base.
• STEP 2
Sloping and grading of the new base is done to make sure there will be proper water drainage. Water damage is a major cause of damage, such as potholes, cracks and heaving.
• STEP 3
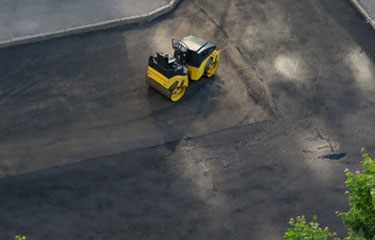
A new sub-base is installed and compacted, this is key to ensure the new asphalt has a solid base. The sub-base is a frost barrier to help reduce winter damage due to freezing and thawing.
• STEP 4
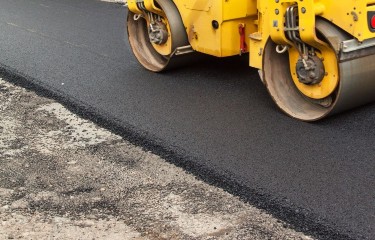
A binder layer is now added. A binder layer is large aggregate mixed with oil, making it strong and durable.
• STEP 5
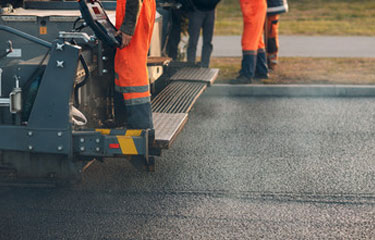
The surface layer, made up of smaller aggregate, sand and oil to provide a smooth surface is installed.
• STEP 6
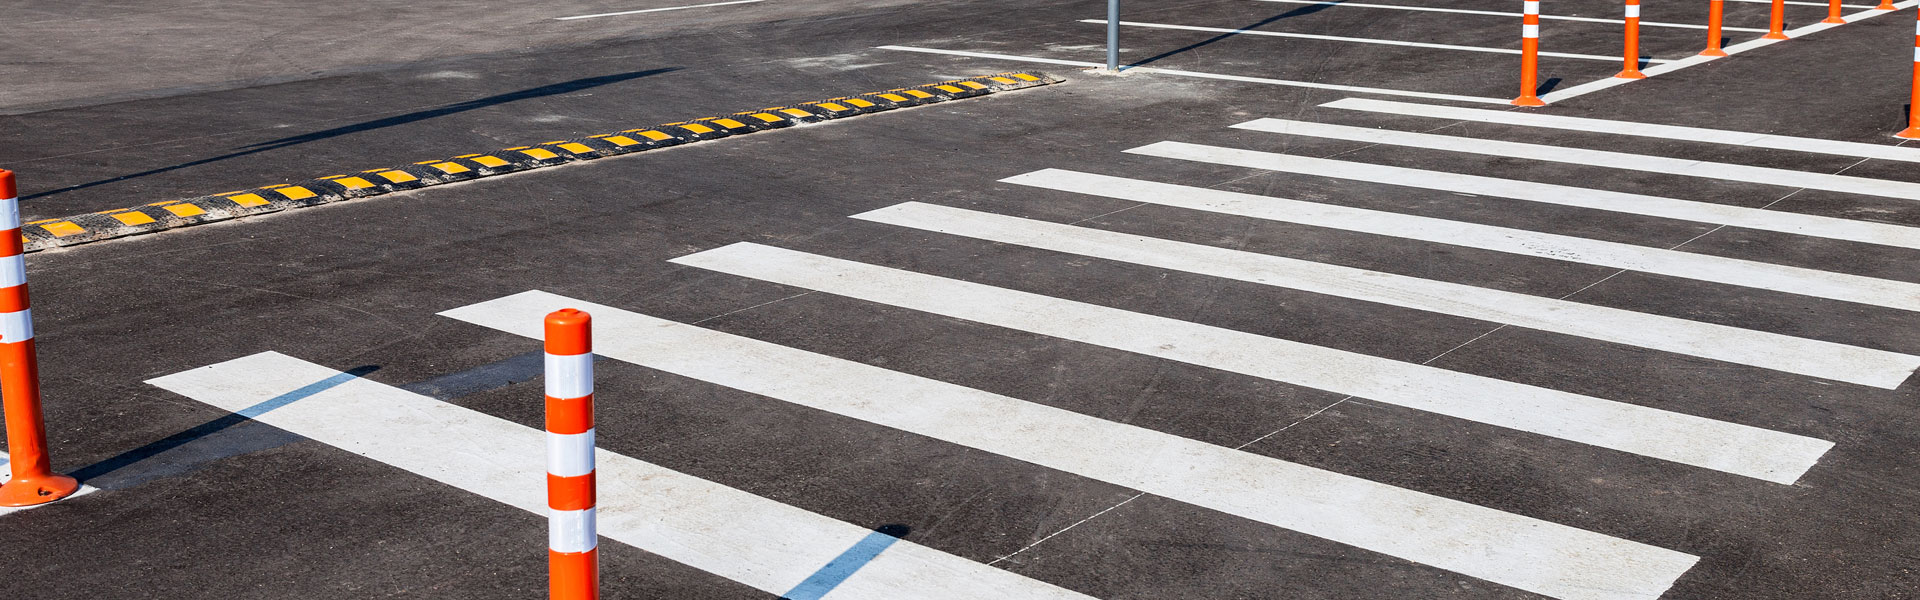
Butt joints, where new asphalt meets the old asphalt are transitioned to make sure there is proper water run-off and that old and new surface are level. New asphalt is now ready for final compaction.